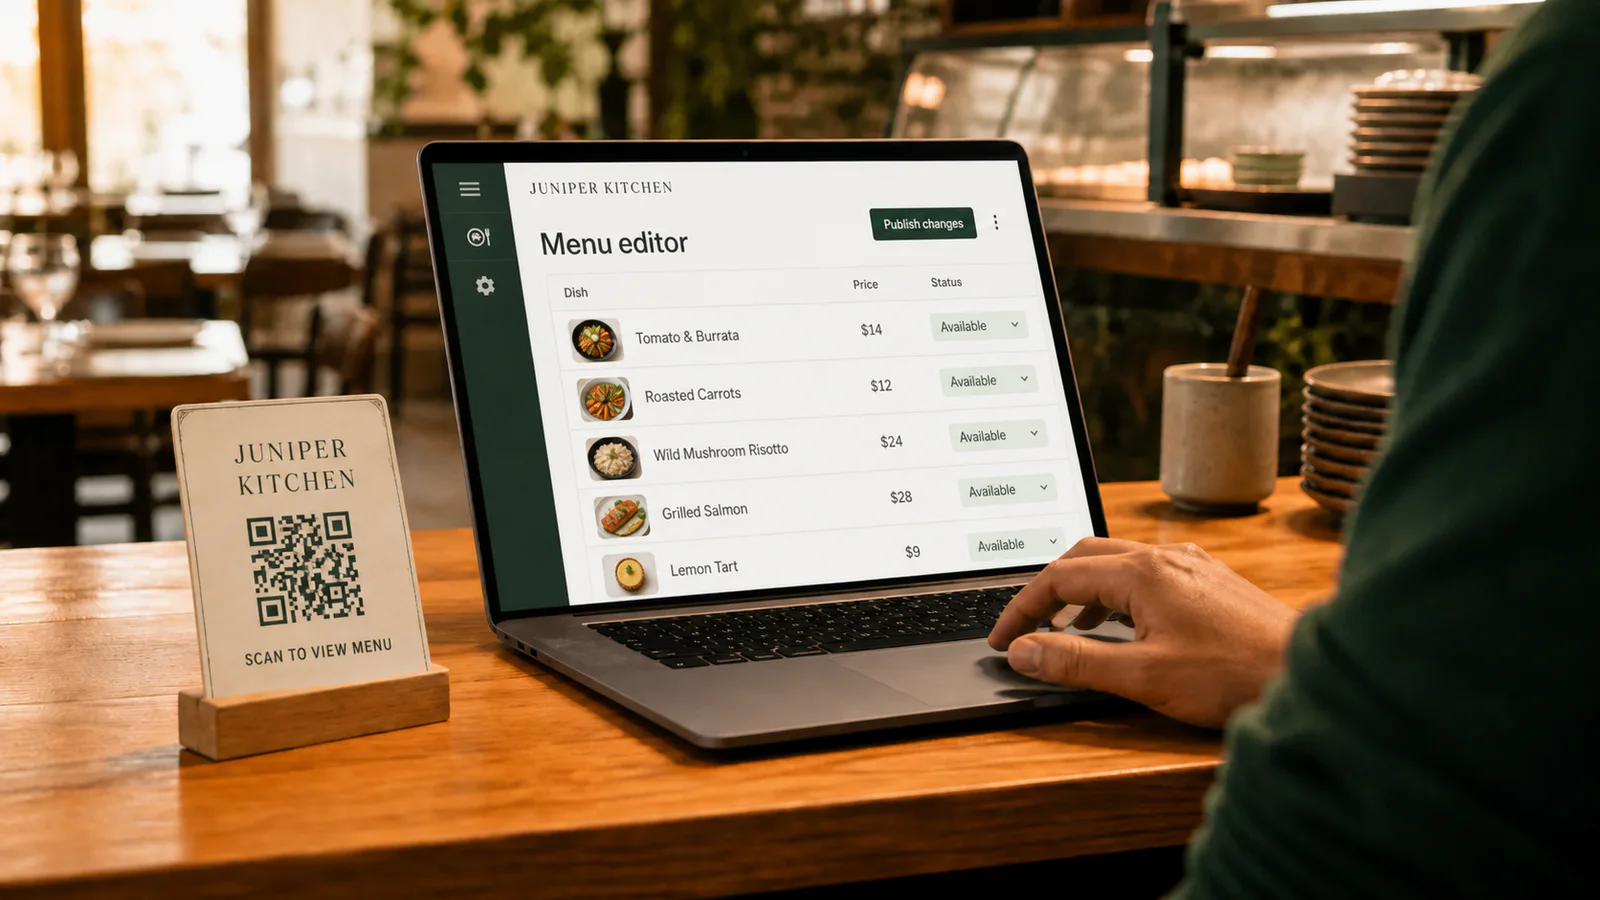
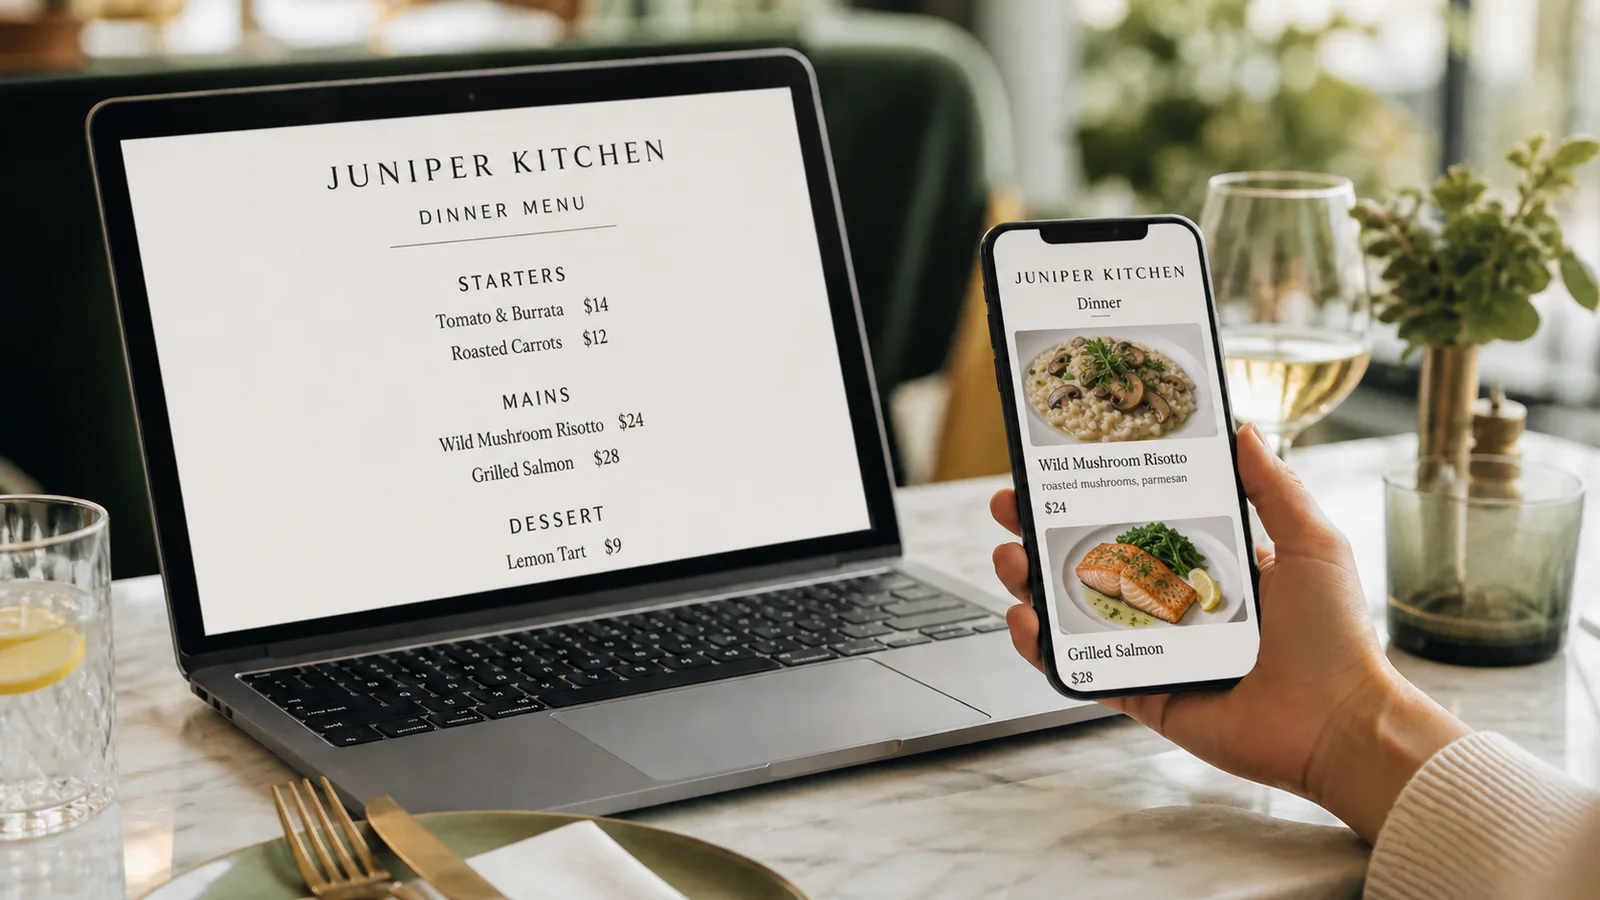
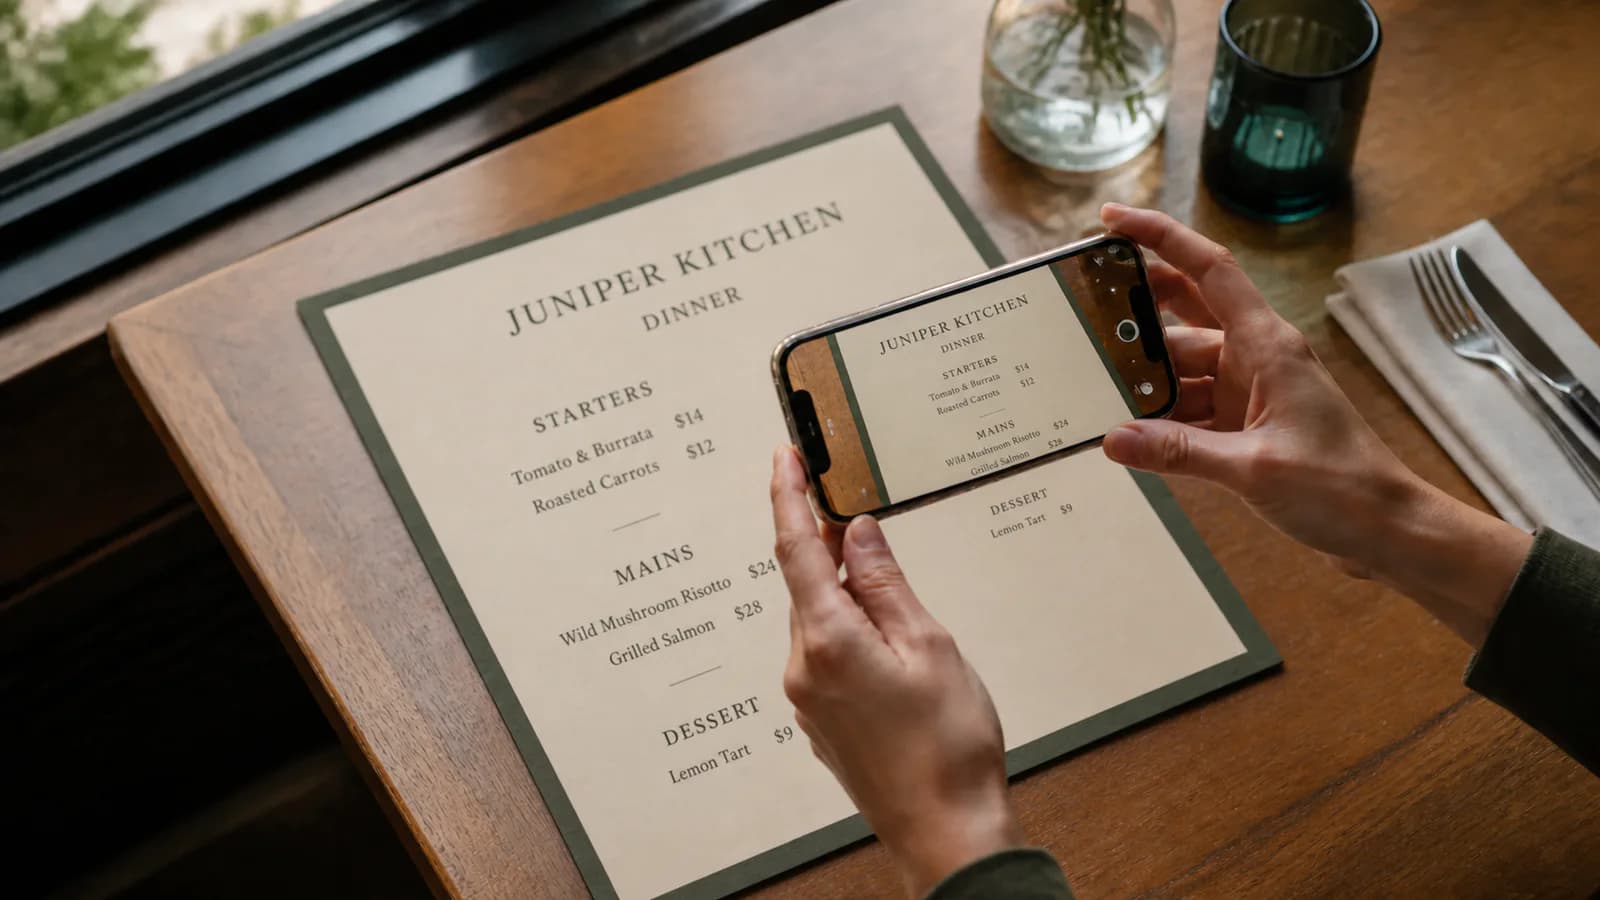
Test your QR menu before it reaches every table
Validate restaurant menu content, public access, real-phone usability, and the physical QR code before committing to a full print run.
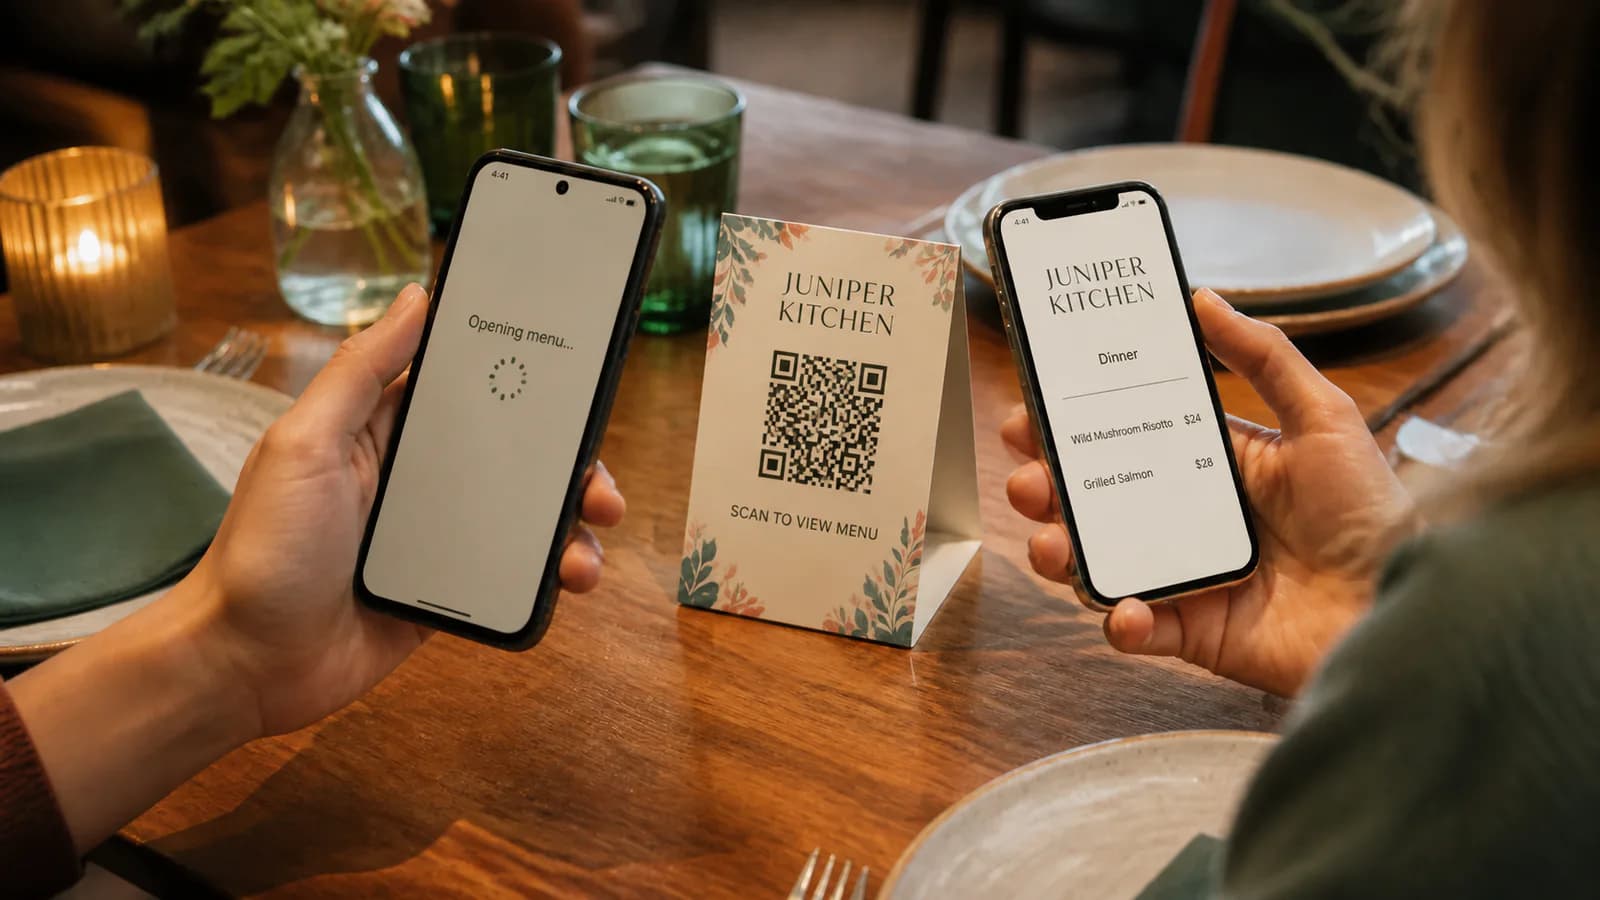
Before printing a restaurant QR code for every table, verify three things with the real public menu: its information is correct, unfamiliar phones can use it, and the final-size printed code scans from a normal seated position. A preview inside the owner account is not enough.
Use this checklist as a release gate. Write down who approved the content and keep one physical proof with the launch date.
1. Approve the menu content
- Restaurant name, location details, and menu title match the venue.
- Every active category appears in the intended order.
- Dish names and descriptions match the approved source.
- Prices, currency, and size or serving variants are correct.
- Dietary labels and allergen wording have been reviewed by the restaurant, not accepted blindly from an import.
- Sold-out, seasonal, and unavailable dishes follow an agreed policy.
- Logo, header, and dish imagery belong to the restaurant and crop well on a phone.
If the source is a scan rather than a PDF, use the preparation and review steps in turn a menu photo into an editable digital menu.
2. Confirm public access
Open the menu in a private browser window on a device that is not signed in. In Qtable, setup mode keeps a menu private until eligible public access is active, so an owner preview does not prove that a guest can open it.
- The intended production menu address loads without an account.
- The restaurant has the trial, plan, or other access needed for publication.
- The first screen clearly identifies the restaurant and menu.
- The QR destination uses the exact address the team intends to keep.
- A useful fallback, such as a short readable address or staff instruction, is available if a guest cannot scan.
3. Test the phone experience
Test at least one current iPhone and one Android phone, using both Wi-Fi and cellular data where practical. Include an older or smaller phone if that reflects your guests.
- Text is readable without pinching or horizontal scrolling.
- Categories and links clearly describe where they lead.
- Buttons and interactive targets are comfortable to tap without hitting a neighbor.
- Long dish names, long prices, and missing images do not break the layout.
- The final category and footer are reachable and readable.
- Back navigation returns to the expected place.
These checks align with W3C guidance on content reflow, link purpose, and minimum target size. Passing this operational checklist is not a complete accessibility audit, but it catches common table-side failures.
4. Test a physical proof
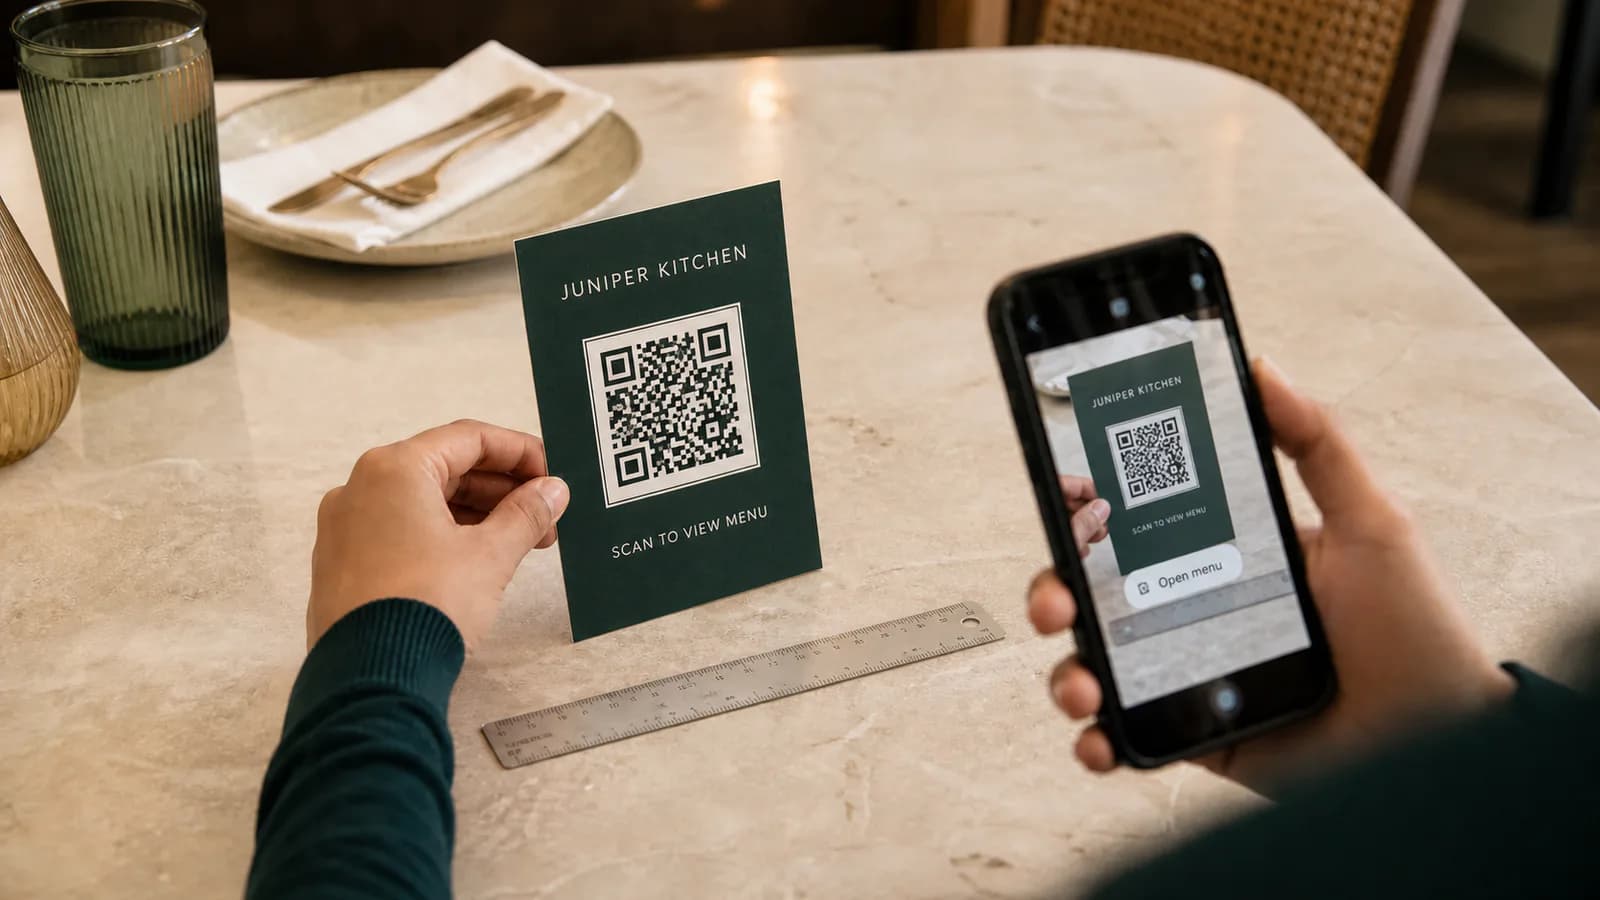
Export the production QR code and print one proof at the final intended size and on comparable material. Do not validate only a large code on a bright desktop monitor.
- Scan the proof with the native camera on each test phone.
- Try it under the venue's daytime and evening lighting.
- Scan from the distance and angle a seated guest will use.
- Check that lamination, glare, folds, and table texture do not interfere.
- Keep clear space around the code and strong contrast between it and the background.
- Confirm the destination after scanning; a successful scan to the wrong menu is still a failed test.
QR Code is standardized internationally, as summarized by DENSO WAVE's standards history, but print quality, placement, camera conditions, and the linked page remain your responsibility.
5. Run a small table pilot
Place the proof on one or two tables before the full order. Ask a staff member who was not involved in setup and at least one guest-like tester to find a specific dish, its price, and a dietary detail. Watch where they hesitate; do not coach them through the first attempt.
Record any corrections, publish them, and scan the same proof again. The stable-QR update guide explains which edits can happen without replacing the code.
6. Assign launch ownership
- One person owns content approval and one person owns the print order.
- Staff know the fallback when a phone or network fails.
- The team knows how to report a wrong price or broken destination.
- A recurring review is scheduled for prices, availability, access, and physical wear.
- The tested production URL, approval date, and proof version are recorded.
If you still need to create the mobile destination, start with the PDF-to-QR menu workflow. Upload your menu, review the extracted draft, and return to this checklist before printing.