Turn a photo of your menu into an editable digital menu
Photograph a printed restaurant menu clearly, review the extracted dishes and prices, and prepare a mobile menu that is ready to share by QR code.
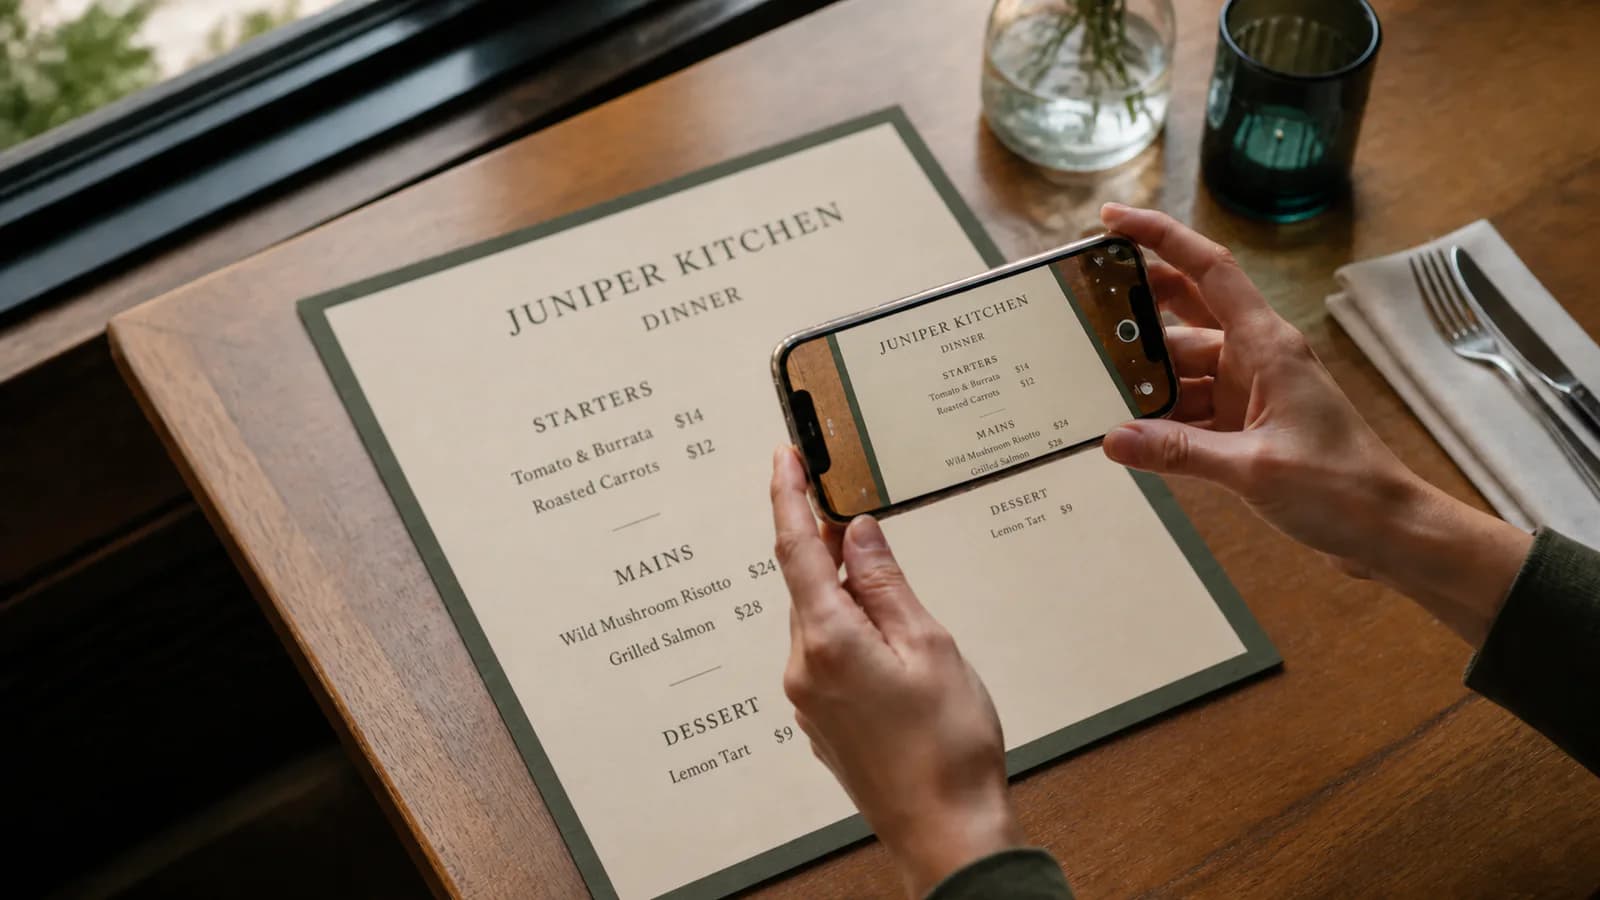
A phone photo can be enough to start a digital menu. The important part is not making the photo look artistic. It is giving the importer a straight, readable view of every menu line, and then treating the extracted menu as a draft that a person must check.
This guide covers the whole job: preparing the paper, taking clear photos, reviewing the result, and testing the menu on a guest’s phone before a QR code reaches the tables.
Before you take the photo
Set the menu on a flat surface near a window or under even overhead light. Remove plastic sleeves if you can do so safely; clear covers often create glare across prices and descriptions. Smooth folded pages and keep other objects out of the frame.
Check the source before digitizing it. Crossed-out prices, handwritten specials, faded print, and old allergen notes may be faithfully carried into the draft even though they should not be published. Mark the current version first so your digital menu does not begin with outdated information.
If the menu has several pages, decide their order before shooting. Qtable accepts up to three import files at once. For a longer menu, divide the work into clear batches rather than squeezing several distant pages into one photograph.
Take a readable menu photo
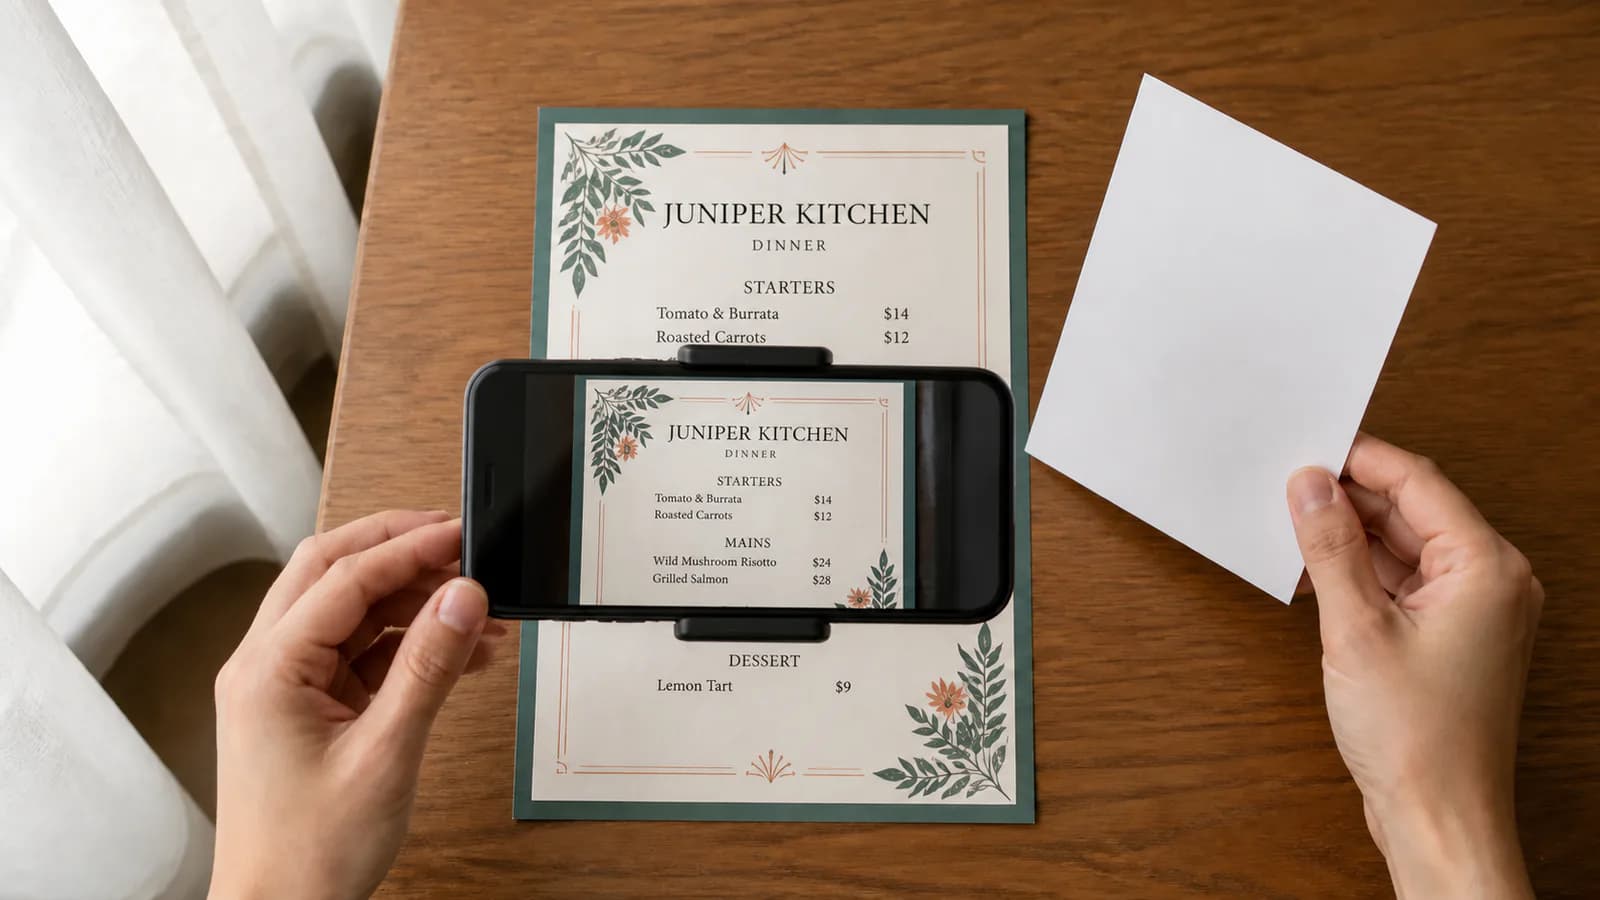
Use this quick capture routine for each page:
- Fill the frame. Move close enough that the text is clear, but leave a small border around every edge so nothing is cropped.
- Keep the phone parallel. Hold the camera directly above the page. A steep angle makes text at one end smaller and harder to review.
- Check glare and shadows. Move the light or your body until no bright patch covers a dish name or price. Avoid using the flash on a glossy menu.
- Focus on the text. Tap near the center of the page and wait for the camera to settle before taking the picture.
- Review at full size. Zoom into the smallest price and description. If you cannot read them comfortably, take the photo again.
Photograph one page per image. A single picture containing an open booklet may look efficient, but the center fold, page angle, and smaller type make review harder. If a page has unusually small print, two overlapping close photos can be clearer than one distant shot, as long as you check duplicates after import.
Qtable currently accepts JPG, PNG, WEBP, HEIC, and HEIF images in its menu import flow. A PDF is also an option when you have the original digital file; see the complete PDF-to-QR menu workflow when that is your source.
Import the photos as a draft
From Qtable’s menu setup flow, choose the photo or PDF option and add the pages in reading order. The importer uses the visible menu text to prepare editable categories and items. Depending on the source, that draft can include names, descriptions, prices, dietary details, and size-based prices.
Extraction reduces retyping; it does not remove the need for editorial review. Decorative fonts, low contrast, multiple price columns, abbreviations, and handwritten changes can all create ambiguity. Do not publish from the first preview without comparing it with the source.
Review what was extracted
Work through the draft in a consistent order so small mistakes do not hide inside a long menu.
1. Categories and item order
Confirm that starters, mains, drinks, desserts, and any venue-specific sections are separate and correctly ordered. Watch for a heading that became a dish, or a dish that landed under the previous category.
2. Dish names and descriptions
Compare spelling, accents, punctuation, and optional ingredients line by line. Keep the wording guests need to make a choice. Remove printing notes, page numbers, or decorative phrases that are not part of a dish.
3. Prices and variants
Prices deserve a second pass by someone who knows the current menu. Check decimal separators and currency, then review dishes with multiple sizes or portions. A pizza with small, medium, and large prices should remain one understandable item with the correct variants, not three unrelated dishes.
4. Dietary and allergen information
Never infer safety information from a dish name or photo. Compare every dietary tag and allergen note with the restaurant’s approved source. When information is uncertain, resolve it with the person responsible for the menu before publishing.
5. Missing or duplicated lines
Look especially at page edges and overlaps between photos. These are the common places for a line to be omitted or included twice. Count the source items in each category and compare that count with the draft.
Prepare the menu for a phone
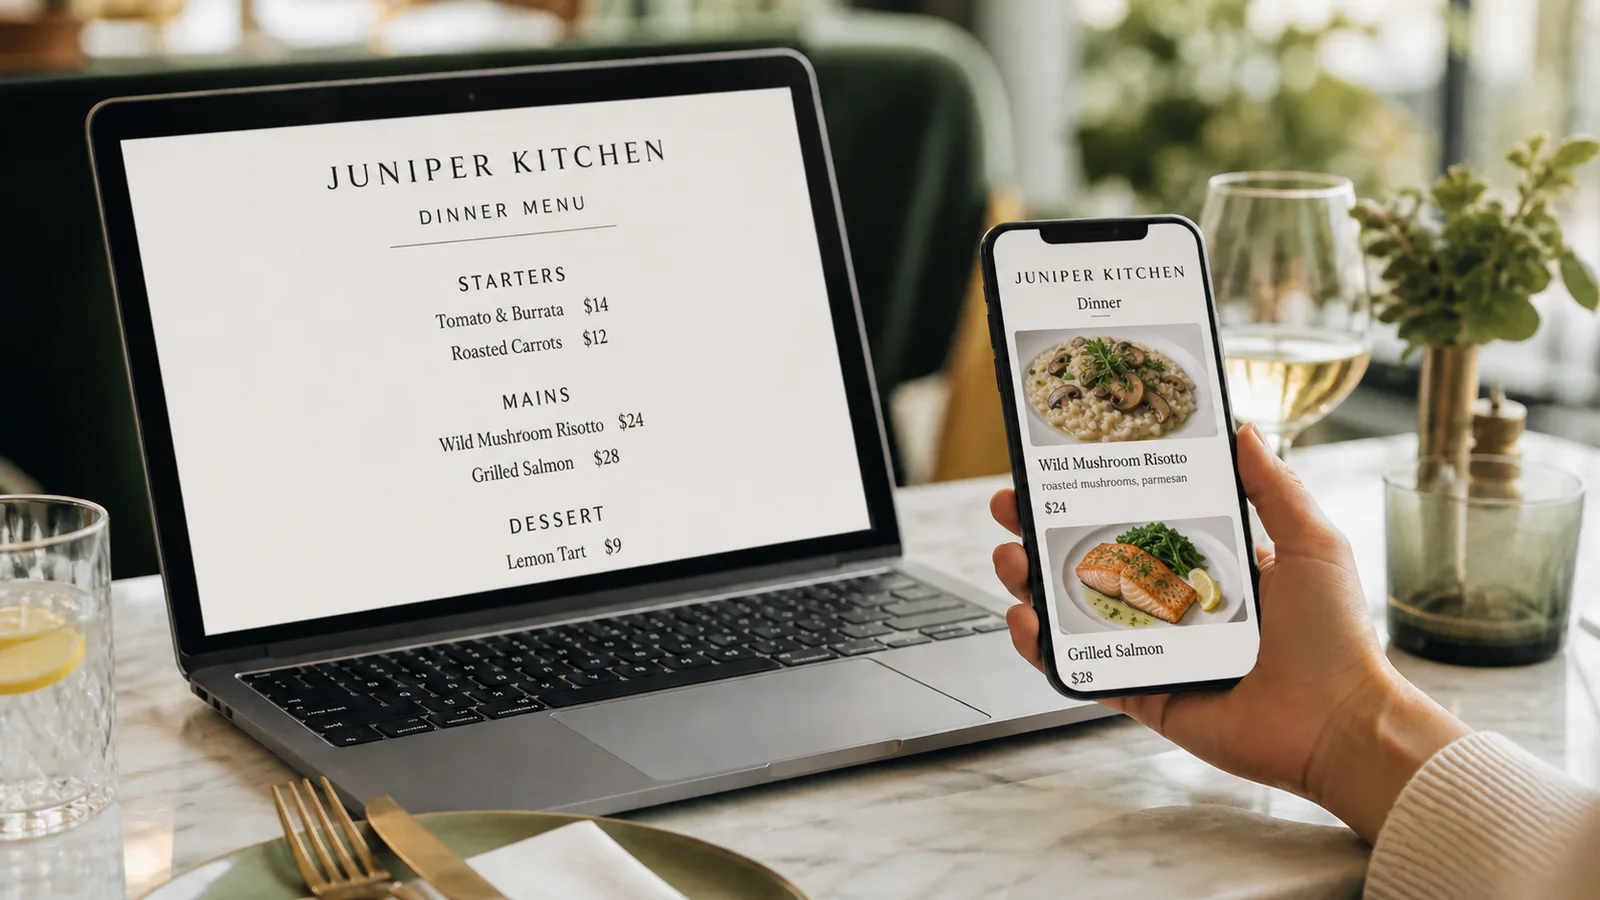
A digitized menu should be easier to use than a photograph of paper. Add the restaurant name and brand details, choose a layout that fits the amount of content, and preview the result at a narrow phone width.
Check that guests can move between categories without repeated zooming, that long names wrap cleanly, and that prices stay associated with the right dishes. The W3C's reflow guidance explains why adapting content to a narrow viewport matters. Dish photos are optional: use accurate, approved images where they help, but do not delay a clear text menu just to fill every image slot.
Publish, scan, and test
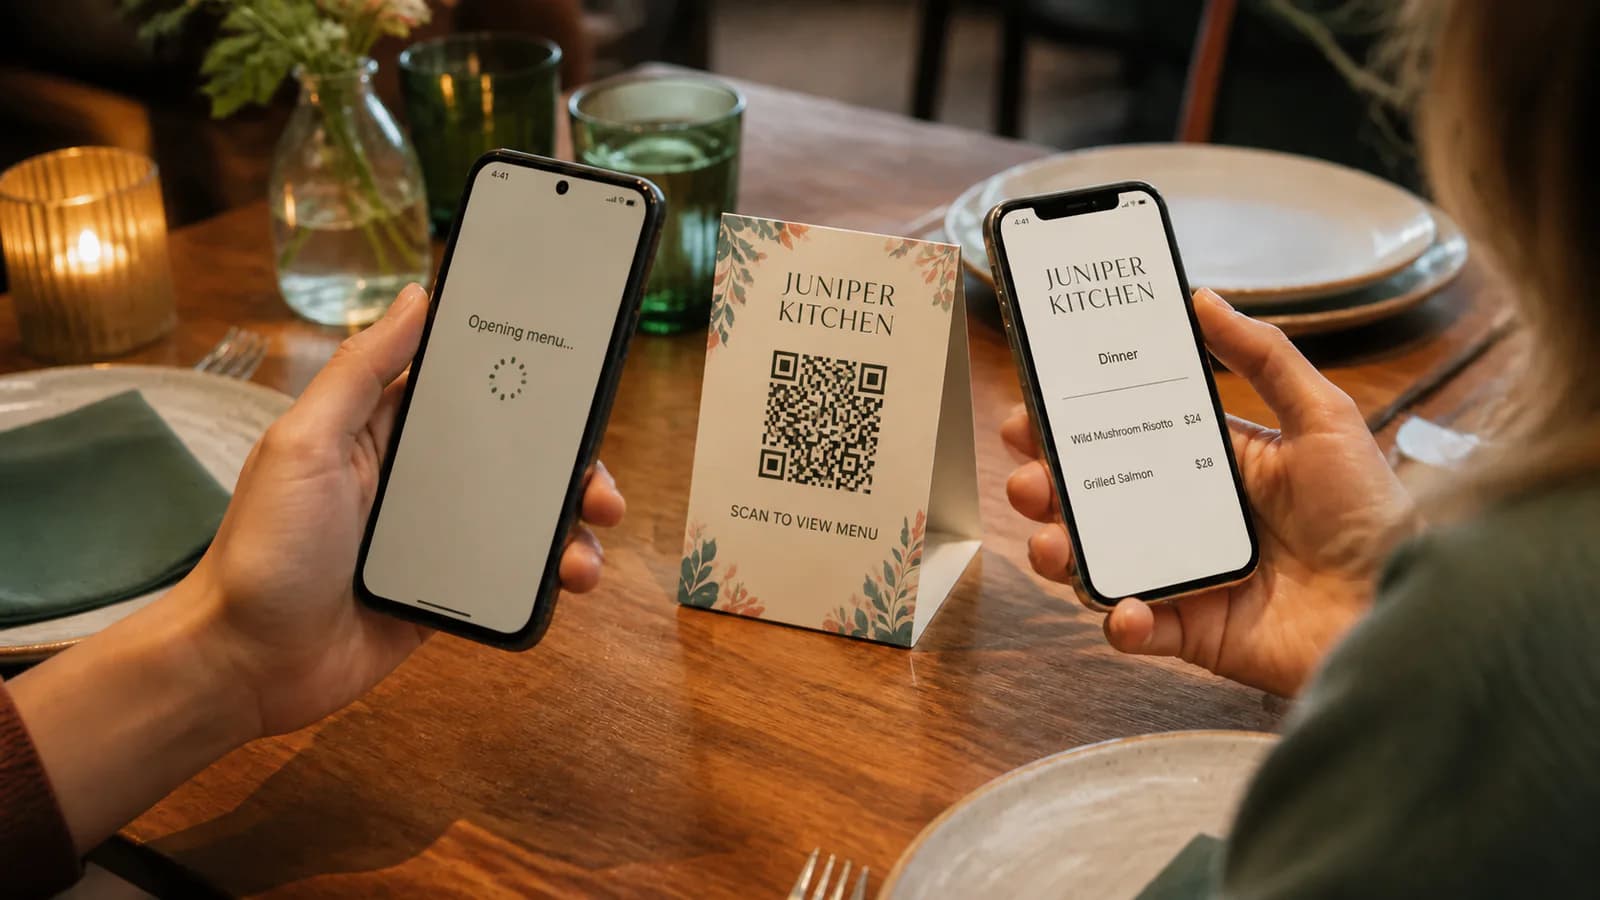
Once the content is approved, publish the menu and open its QR code with a real phone camera. Test the printed proof rather than only the image on your laptop.
Use at least two phones if available, and try the code at the distance and lighting guests will encounter. Browse every category, open a few long dishes, and confirm the restaurant name, currency, prices, and dietary notes one final time. Keep a plain-text “Menu” or “Scan to view menu” label near the code so its purpose is clear.
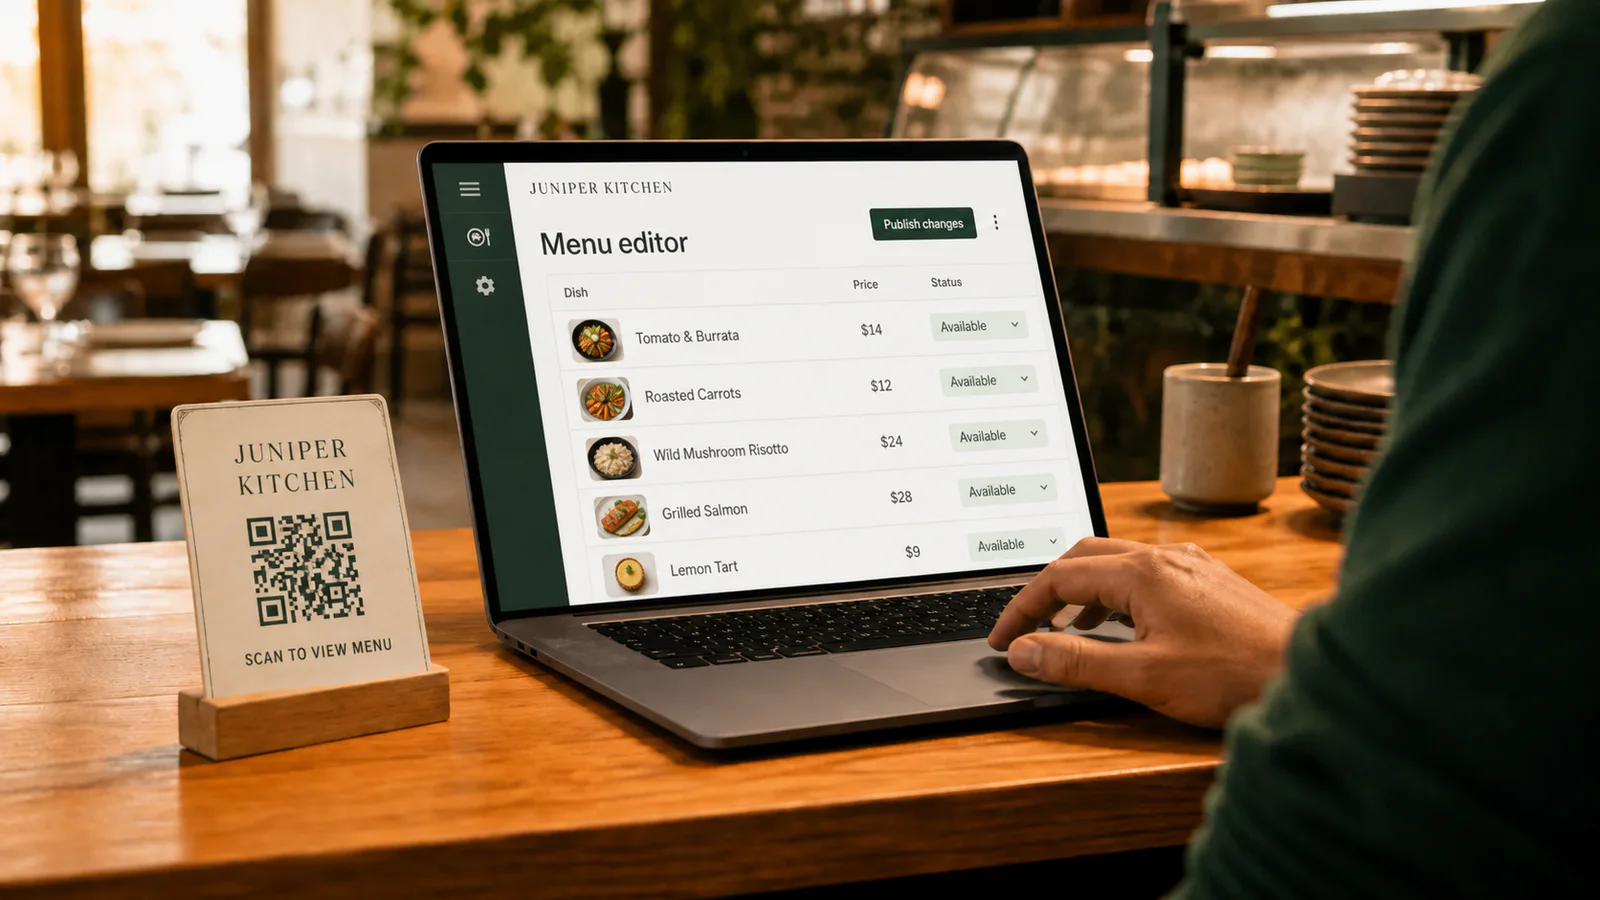
After launch, menu edits happen in the editable menu rather than in the original photo. Existing table QR codes continue to point to that menu, so the team can correct a description or update a price without rebuilding the photographed source. Read how to edit a QR menu without reprinting for the cases where the destination itself changes.
A short checklist
- The current paper menu is flat, clean, and approved.
- Every page is photographed straight on, in order, without glare or cropped text.
- The smallest description and price are readable at full size.
- Categories, dish names, descriptions, prices, and variants match the source.
- Dietary and allergen details were verified by the restaurant.
- The mobile preview works without pinching and zooming.
- A printed QR proof was scanned on real phones before the full print run.
Before ordering every table card, run the complete restaurant QR menu launch checklist.
Ready to replace retyping with a reviewable first draft? Import your menu photos in Qtable, then keep this checklist beside the source while you approve the result.